Building a PCB lapel
Sat, Jul 1, 2017
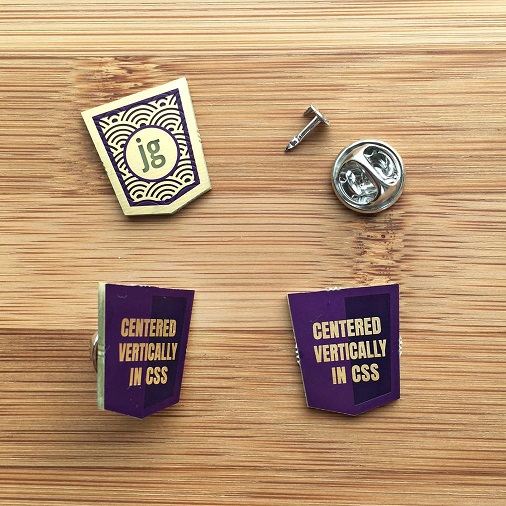
Shiny..
A while ago, I chanced upon a satirical “boy scout badge” featuring the text “Centered vertically in CSS” by @mrgan.
I had little experience with fabric, but building a lapel out of PCB seemed like something that might just work. PCBs are typically built with extremely high tolerances for its copper and mask layers and still acceptably accurate for the silkscreen.
Hopefully this post documenting my build process will be helpful if you’d like to give PCB lapel designs a shot!
PCB Fab
OSHPark was an obvious choice for this project for several reasons:
- Free worldwide shipping, affordable - this project was US$2.55, shipped from the US via UPS.
- Great tolerances, even for the silkscreen. This is relative to Chinese fabs, which usually focus more on the electrical bits.
- Superb web preview. Design files can be viewed from their perspective in case something doesn’t work out.
- ENIG (Gold) finish! It looks fabulous especially when it catches the sun, and has good oxidation resistance.
Design

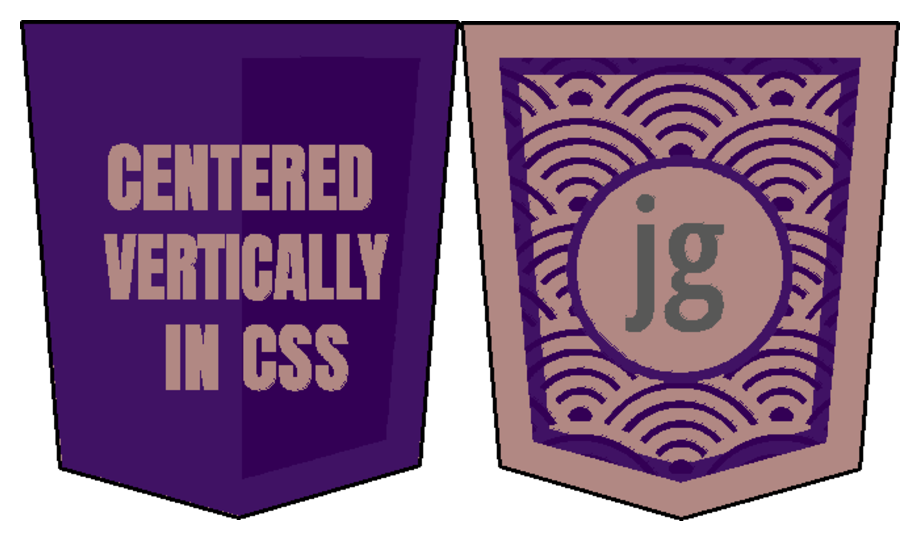
HTML5 Wordmark, by daPhyre
I designed the lapel off the very popular HTML5/CSS3 shield design by daPhyre. This was done in Photoshop¹, using OSHPark’s preview colors as a palette. They only offer a dark purple soldermask and it looks great.

Eyedropper-ed from OSHPark’s PCB preview
Thereafter, individual layers are exported for..
- Front Copper Layer
- Back Copper Layer
- Front Soldermask Layer
- Back Soldermask Layer
and imported into KiCad’s PcbNew via Bitmap2Component (KiCad).

Silkscreen can be used but I avoided them as they are generally less accurate. Bear in mind that silkscreen does not stack on bare copper areas, and will be automatically removed.
Custom board outlines appear to be OK too. The team at OSHPark appear to be very forgiving.
Pins and fasteners

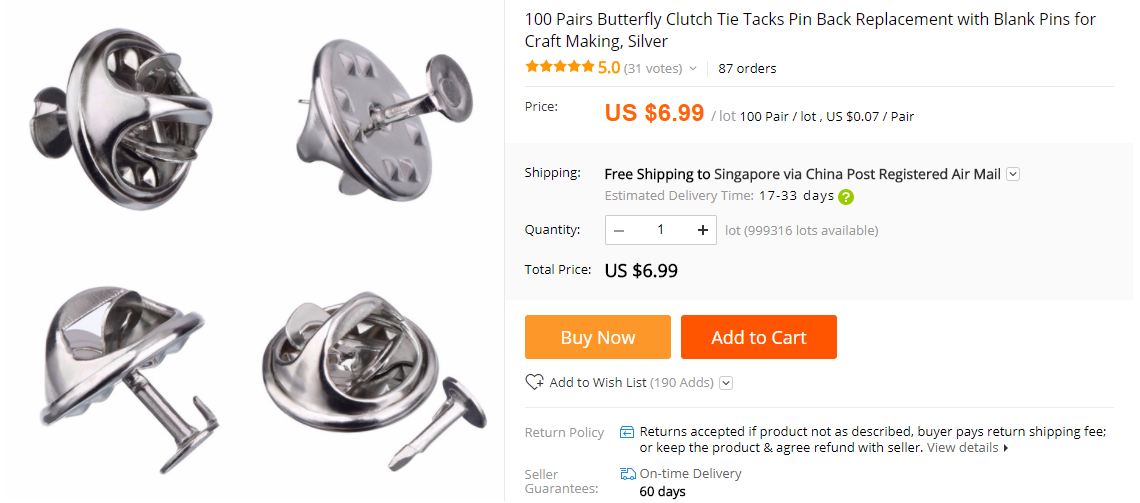
I bought a pack of fasteners and pins from China/Aliexpress, specifically from Girl And Women Store (non referral).
There were stores selling the same pins in gold, which would’ve looked great with the ENIG finish, but I was concerned that the gold coating might be plastic-based, which would make soldering difficult.
Dimensions were unfortunately unavailable, hence I left a large circular pad (with my initials) on the back of the PCB to affix the pin.
Ordering it

This was OSHPark’s preview at the time I ordered it. About 3 weeks later, the boards arrived in all its purple glory.
Assembly
Assembly was straightforward:
- Break off the tabs on the PCB and gently file away the rough bits
- Clean, flux and tin the lapel’s pad and pin’s surface. The surfaces should both readily receive the solder and wet properly.
- Optional: flux both surfaces again
- Connect pin to pad gently and heat. Both surfaces should reflow and solder right on
- Clean up excess flux
That’s it!
Tips / Lessons learnt
- Larger soldering tip makes working easier
- A 5mm diameter circular SMD land pattern should fit the pin comfortably
- The pin can probably be treated as a SMD part, though it risks toppling during the reflow process. A jig with 1.1mm diameter sockets may perhaps be helpful if assembling in bulk.
- The other (shorter) pointy thing on the pin appears to snag on the fabric to preserve the lapel’s orientation (or at least it seems to make an attempt)
- Be careful not to tin any exposed gold surfaces. It’s almost impossible to fix it once it has been tinned. Polyamide tape (Kapton) may be useful here.
I also made a rough drawing of the pin’s shape in OpenSCAD:

Really though, the only thing of note is the 5mm diameter land pattern.
Thoughts
- This could be a interesting alternative for conference/event badges. Could potentially replace stickers too!
- I wonder if OSHPark has any means to cover up the exposed FR4. Edge plating? A bit of soldermask?
- Nail polish seems to be a popular coating choice and might be useful to extend the longevity of the board. I have zero experience with that and would love to hear your thoughts (Twitter)!
This post was inspired by @kscottz’s questions. Thank you for asking!
¹ KiCad is currently my favourite EDA tool, closely followed by the non-free Adobe Photoshop