Depth Effect on a budget (action camera)
Fri, Oct 13, 2017
TL;DR: Attach the US$26 Fujian CCTV lens on the Yi Camera to achieve a lovely depth effect. More photos below
The depth effects on modern phone cameras are attractive especially in portraiture, but are only available on select high-end models which usually costs a pretty penny.
Furthermore, this effect is generated by interpolating the image data of two cameras with different focal lengths, and consequently leads to undesirable effects such as clipping of fine details such as hair.
I set out to achieve this depth effect on a (peasant) budget, using my existing Yi Camera (~US$60) and having some requirements in mind:
- Lens with appropriate focal length. Too much focal length results in an overly-zoomed image, while having too little leads to in a mild bokeh and insufficient focusing travel.
- Lens with a wide aperture. A lower f-number is desirable in selecting a lens and also while shooting. Prime lenses are ideal here.
- Large enough imaging sensor. Larger sensors will capture a greater (apparent) depth of field. Coincidentally, the best sensor I’ve seen so far in the budget action camera market is the IMX206 at
1/2.3 inch, found in the original Yi Action camera and some SJCAM products. - Proper composition. The distance between the camera and subject should be kept to a minimum, and the distance between the subject and background should be increased to achieve a stronger blur.
The Fujian 35mm CCTV lens
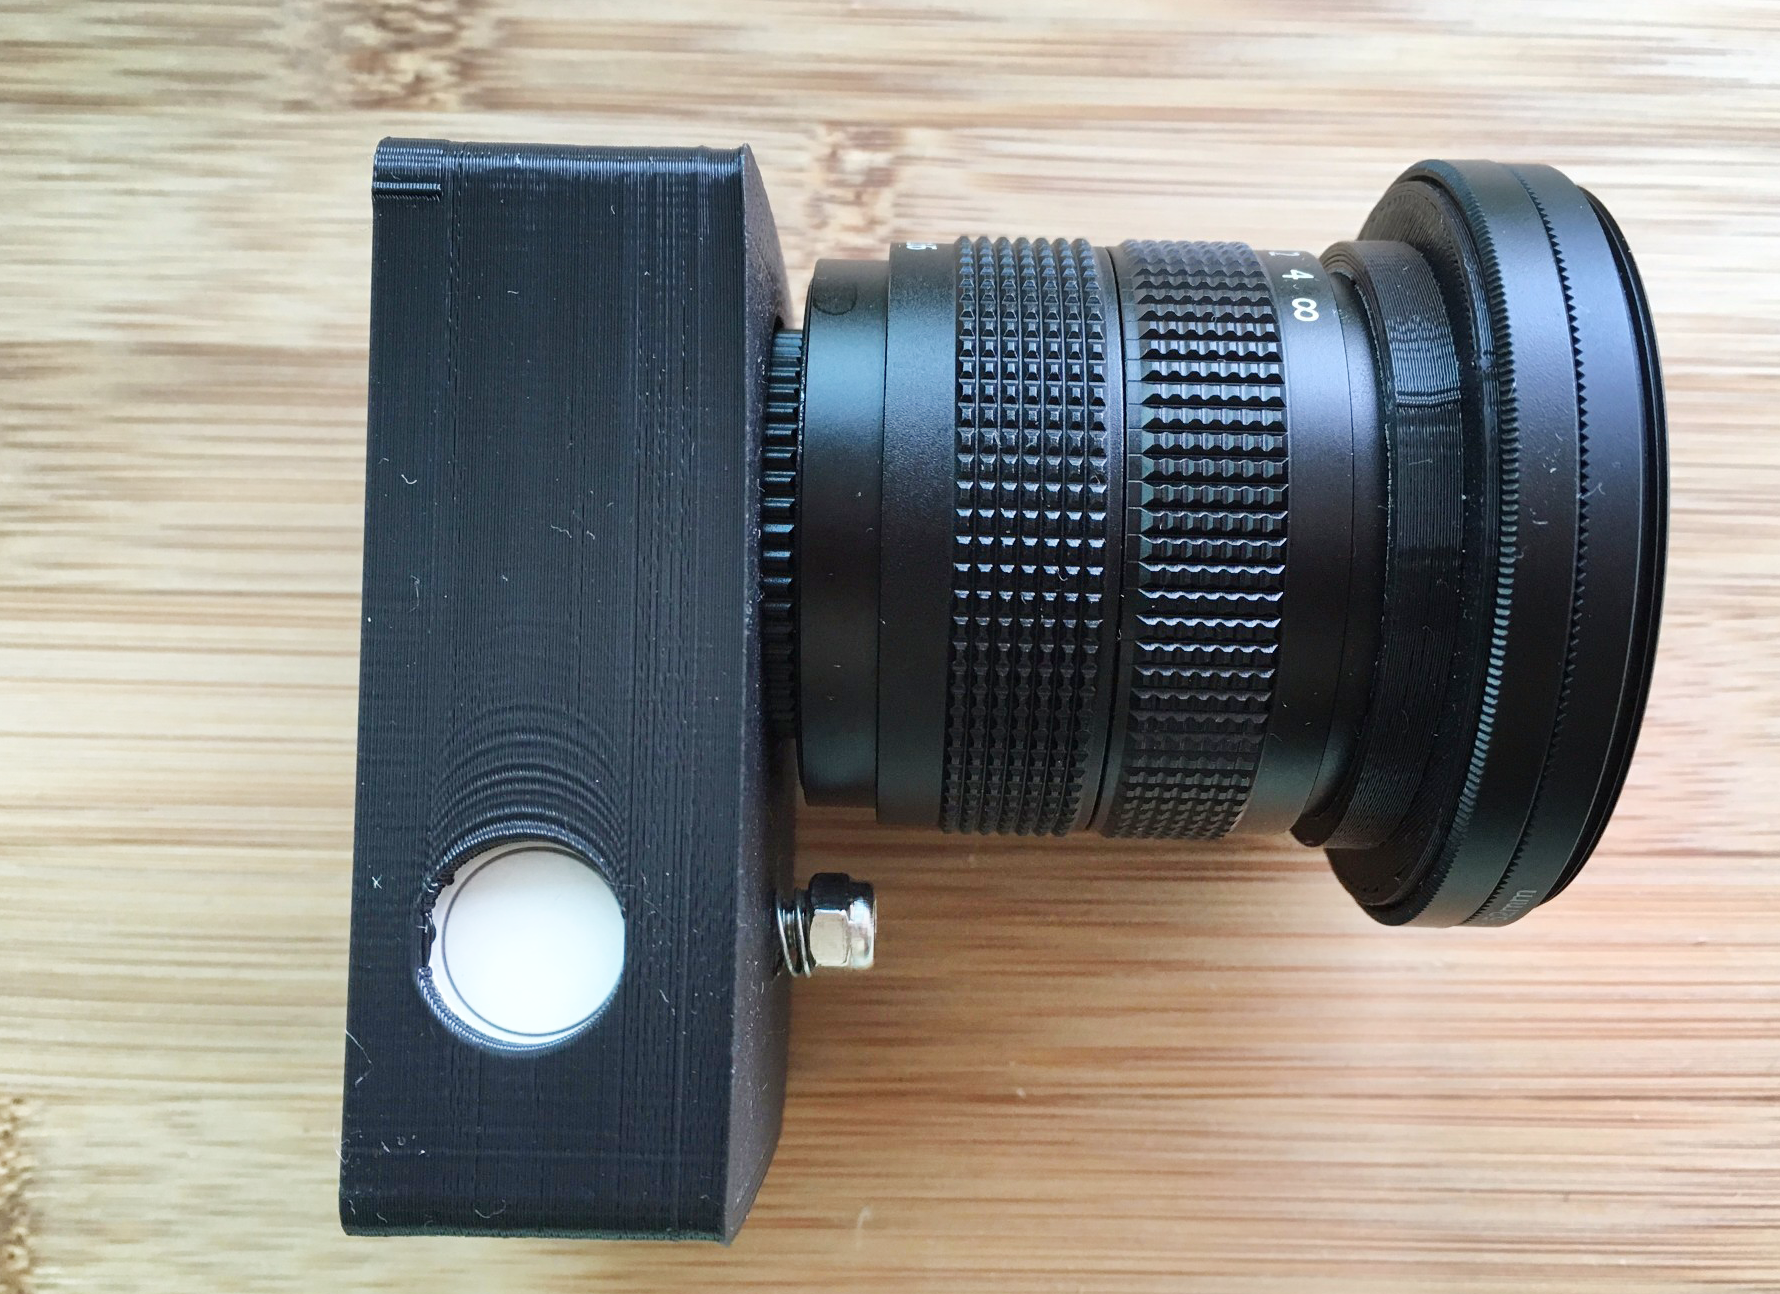 Fujian lens mounted on the Yi Camera, with a IR-cut filter
While looking for a matching lens, I stumbled upon the Fujian series of lenses which was originally designed for CCTV use. The lens has found a significant following for its quaint toy-like image qualities. Its image covers a 2⁄3 inch sensor and it costs about US$26 in the usual places.
On the Yi Camera, the Fujian 35mm lens has a “35mm-equivalent (sensor size)” focal length of about 111mm, which may be slightly too much for portraiture.
While a 25mm Fujian lens exists (which would give an ideal “35mm-equivalent” focal length of 80mm), I found out the hard way that the flange focal distance is too wide for it to focus beyond ~40cm. As such, the 35mm Fujian lens remains as the most decent fit.
Mounting the lens to the camera
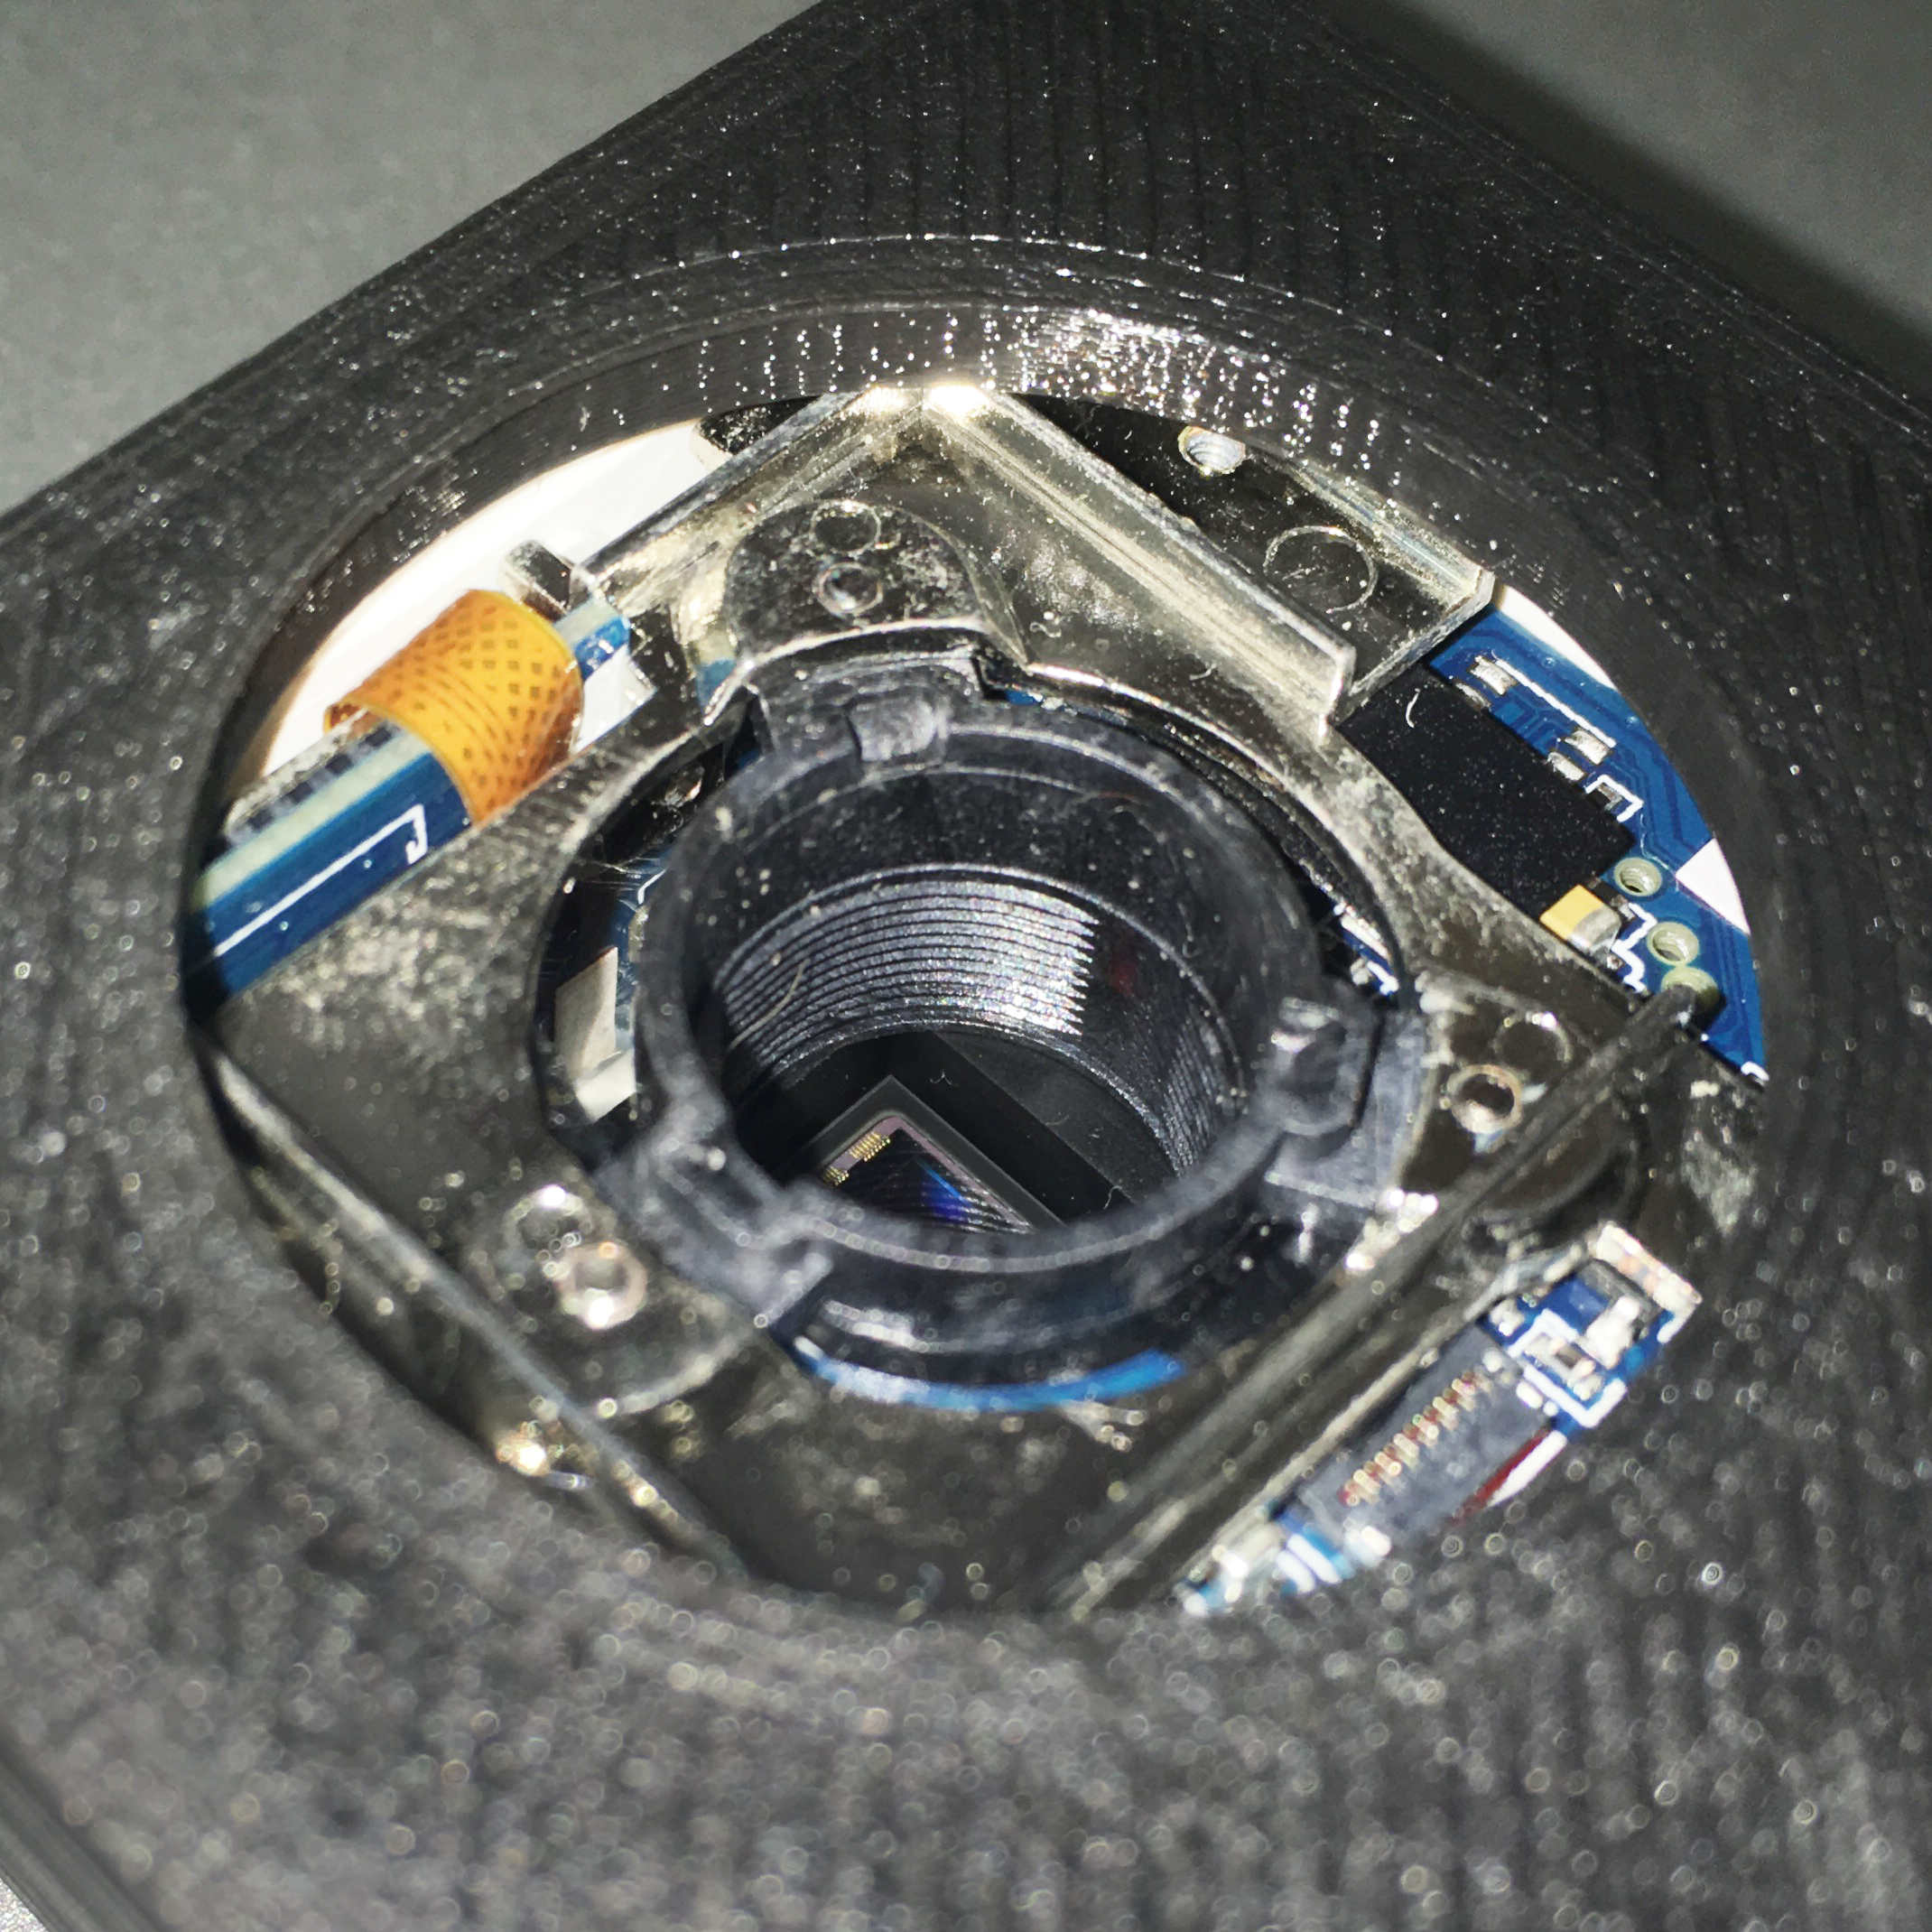 The M12 threads are only available at the lower portion of the barrel, near the sensor.
This is the meat of the entire project - connecting a new lens to the Yi Camera. The original wide-angle lens was removed, and a M12 to C-mount adapter was used to connect the new Fujian lens onto the body.
Unfortunately, the camera’s M12 barrel is only partially threaded, and commercial adapters would not be able to engage the threads. I added tape to achieve an interference fit, though in hindsight, a 3D-printed mount may have worked better (and cheaper).
As the camera’s original faceplate will no longer fit with the new lens, it is replaced by a printed shell.
The infrared problem
 When outdoors, the need for an IR filter is especially apparent.
Capturing first light was an exciting affair - the bokeh was prominent (yay!), as was this distracting pinkish hue.
Differing from DSLRs where the IR filters are installed immediately over the sensor, the filter on the Yi Camera is coated onto the wide-angle lens instead. The Fujian lens is also IR-clear so that CCTVs with IR illuminators can still function at night. Consequently, the red channel picks up plenty of IR in the daytime and results in the pinkish hue above.
This issue was resolved with a 52mm IR-cut filter ($6), attached to the lens via a 3D-printed mount.
Photos!
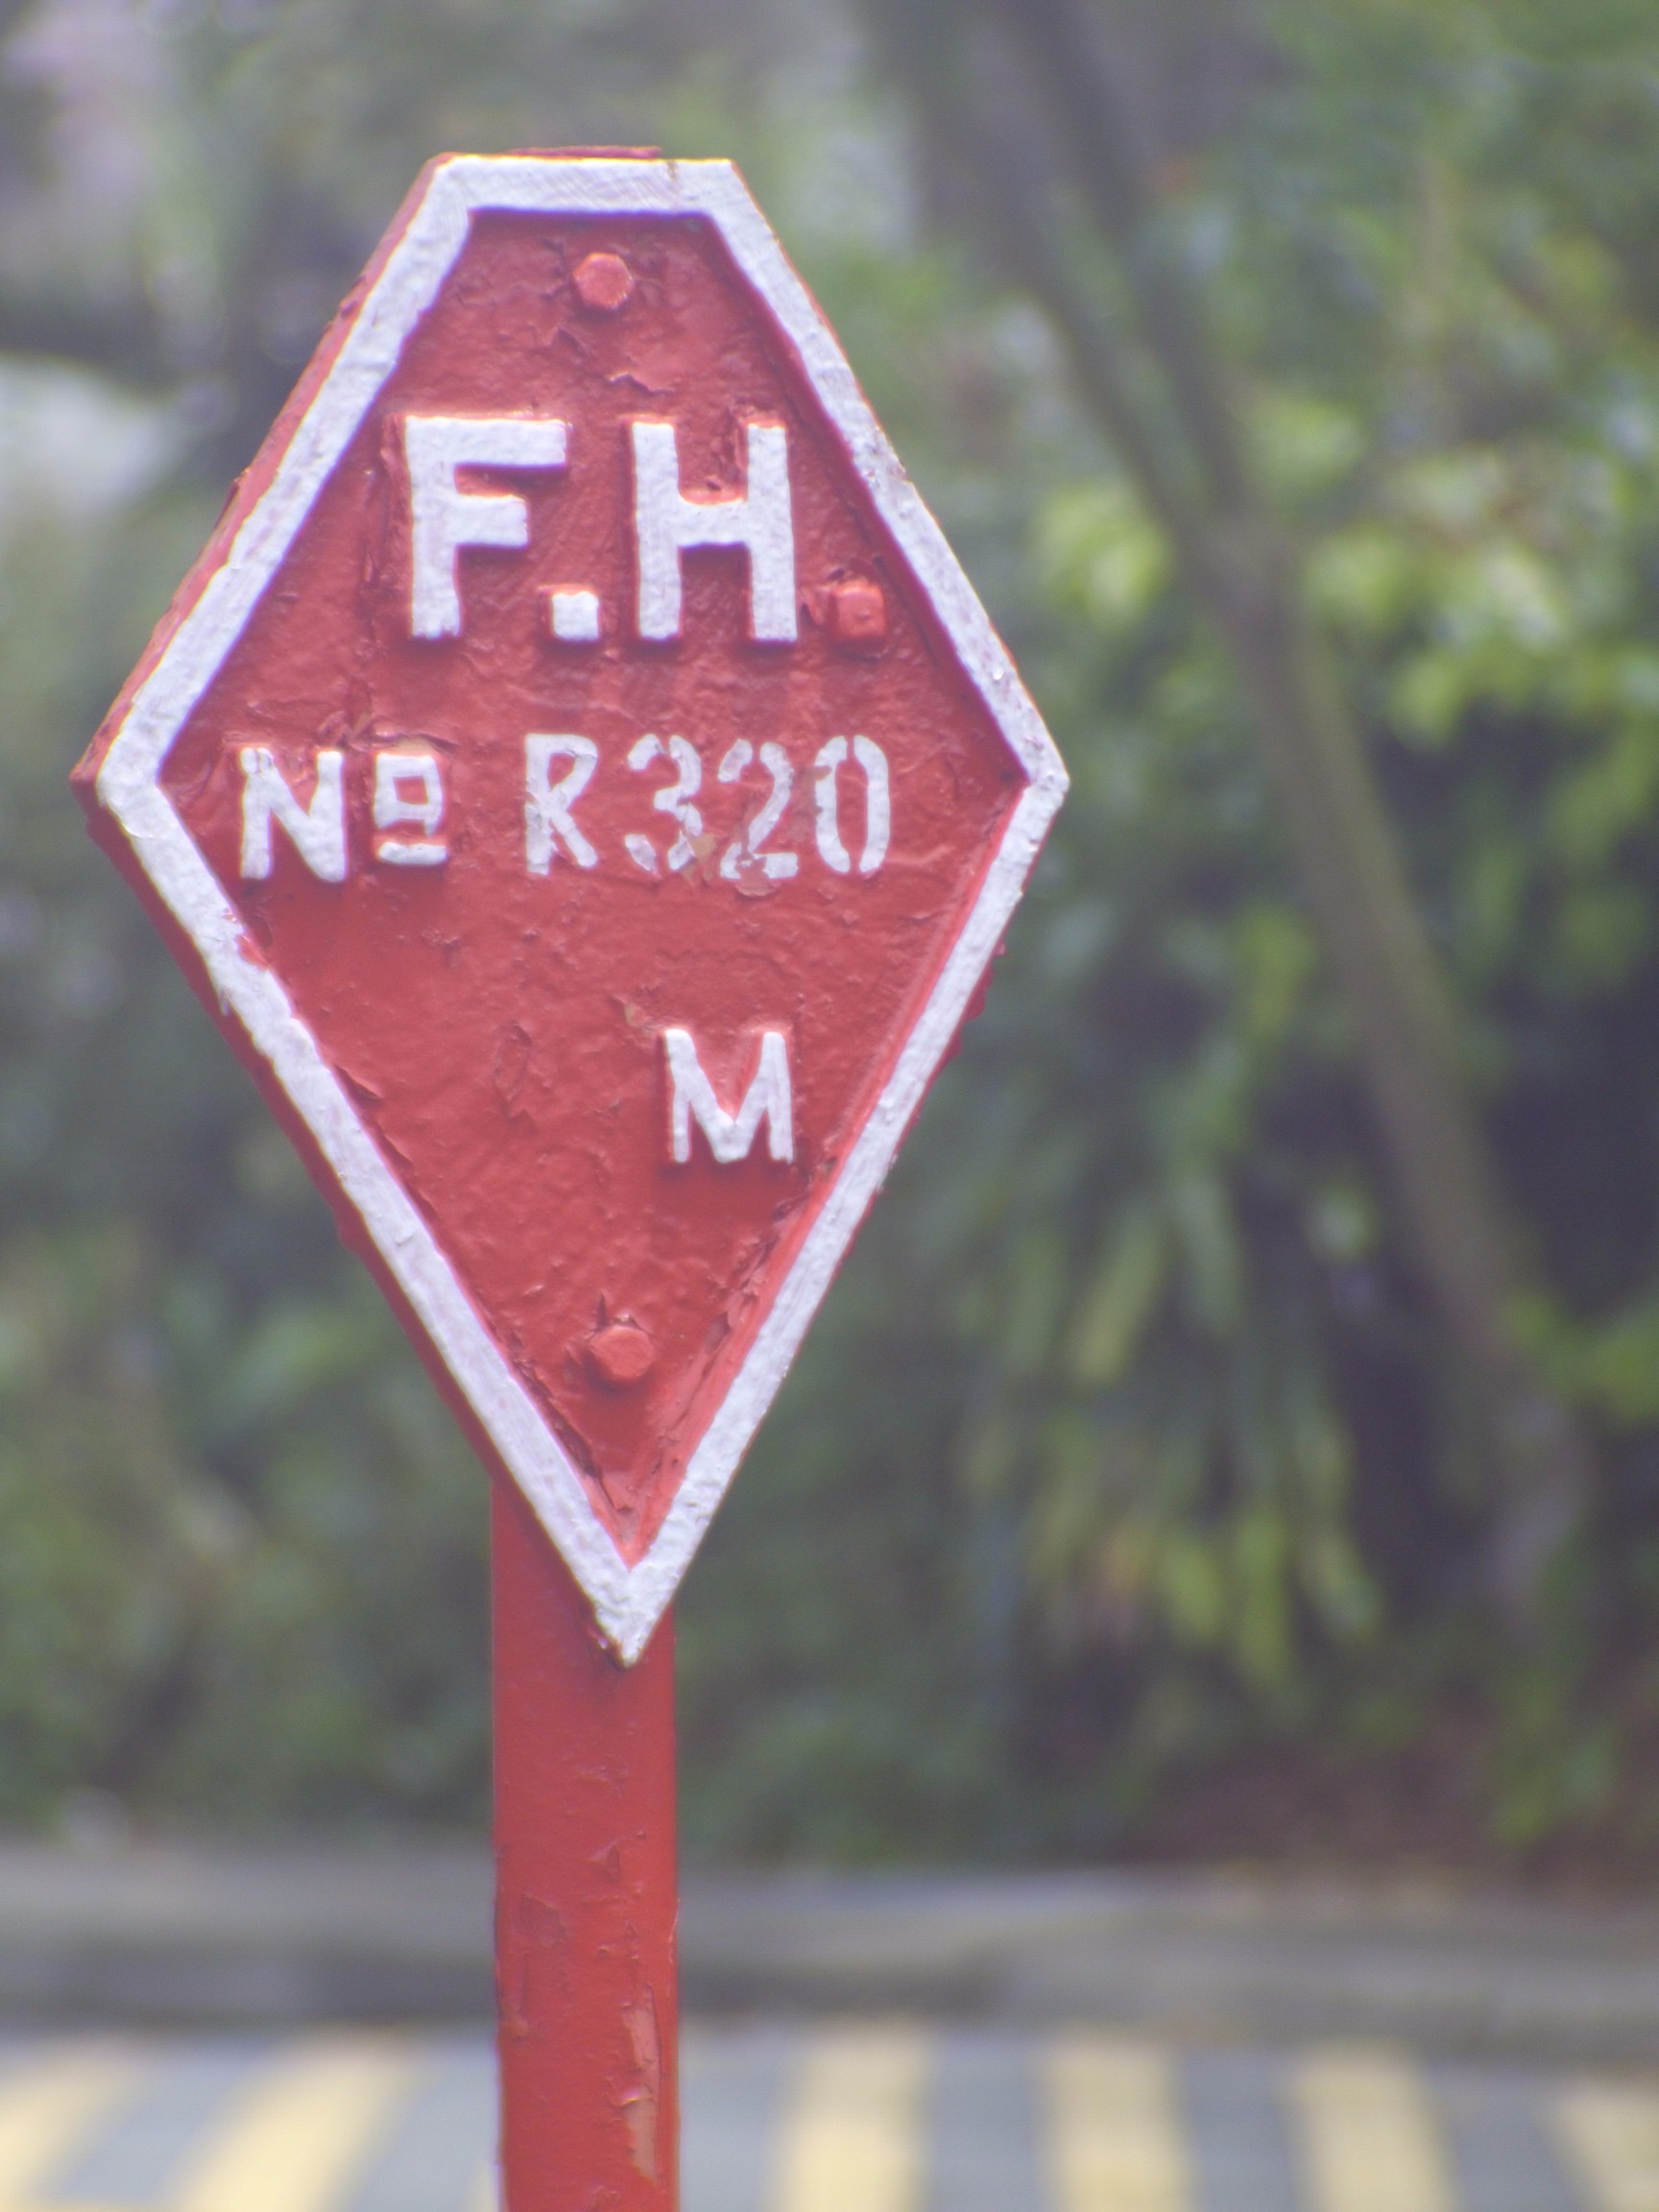 This should give a feel of how portraits might turn out as the sign is about the size of a person’s face.
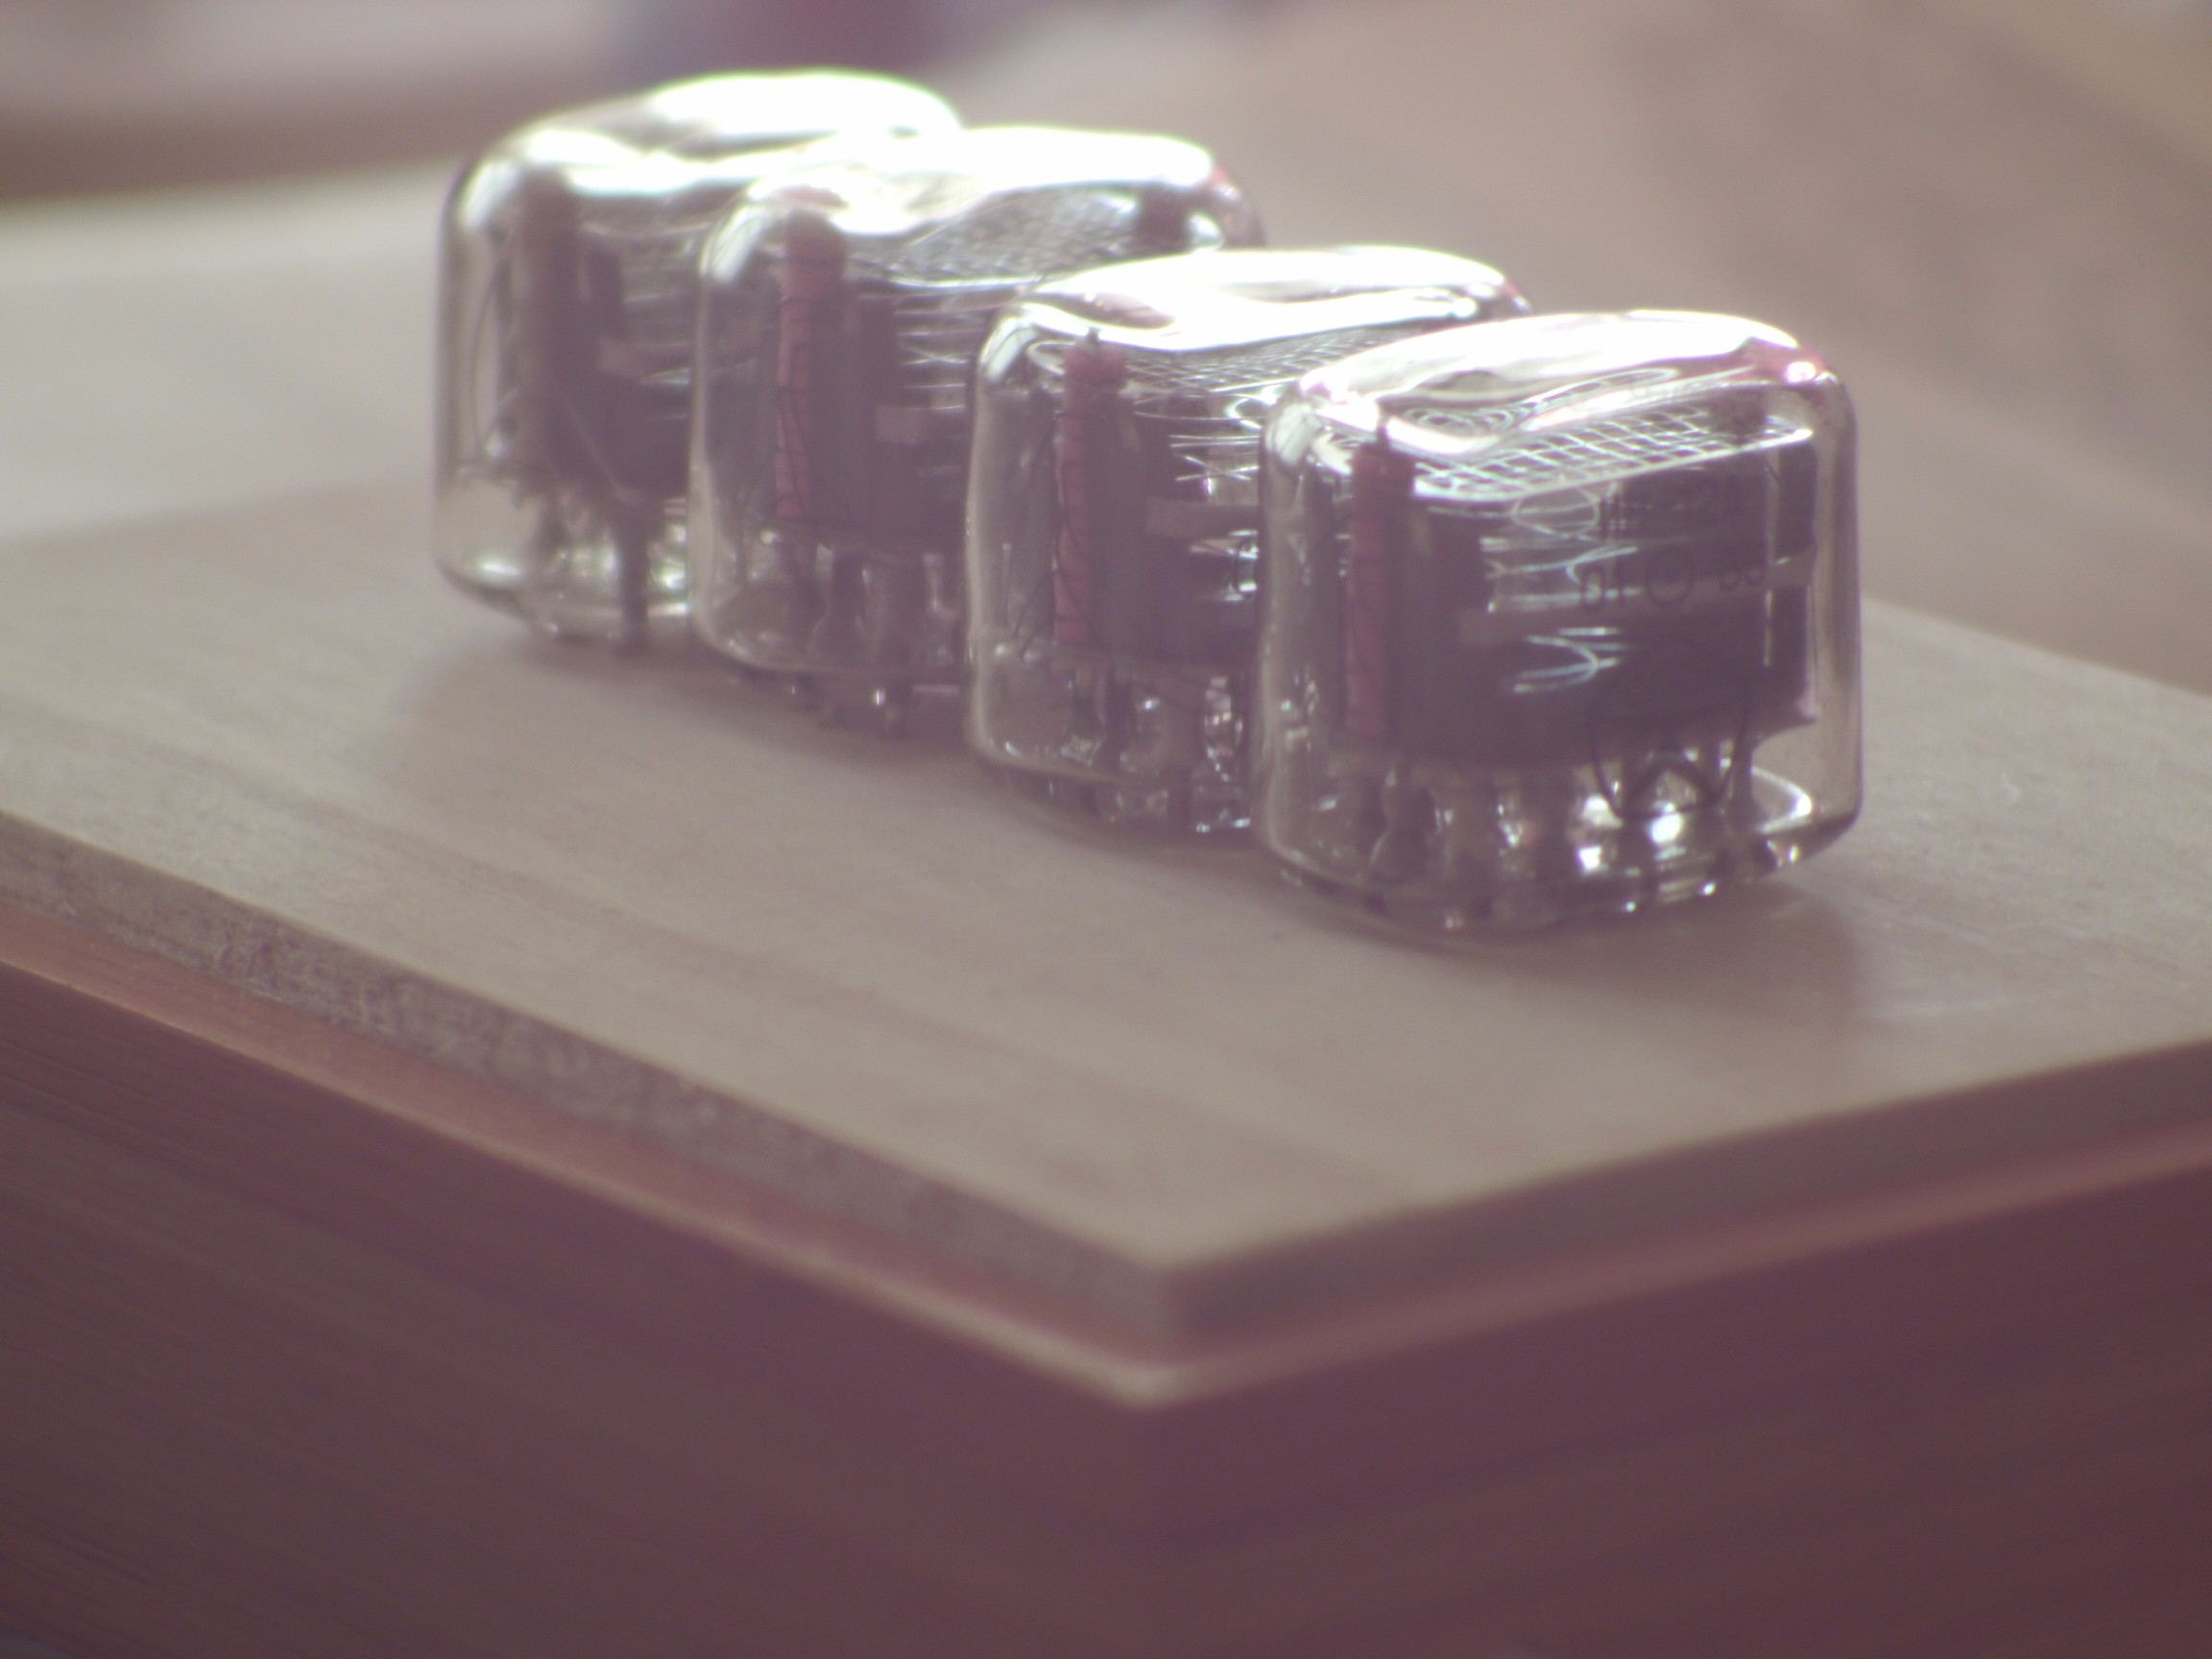 Macro: those tubes are IN-12 for scale.
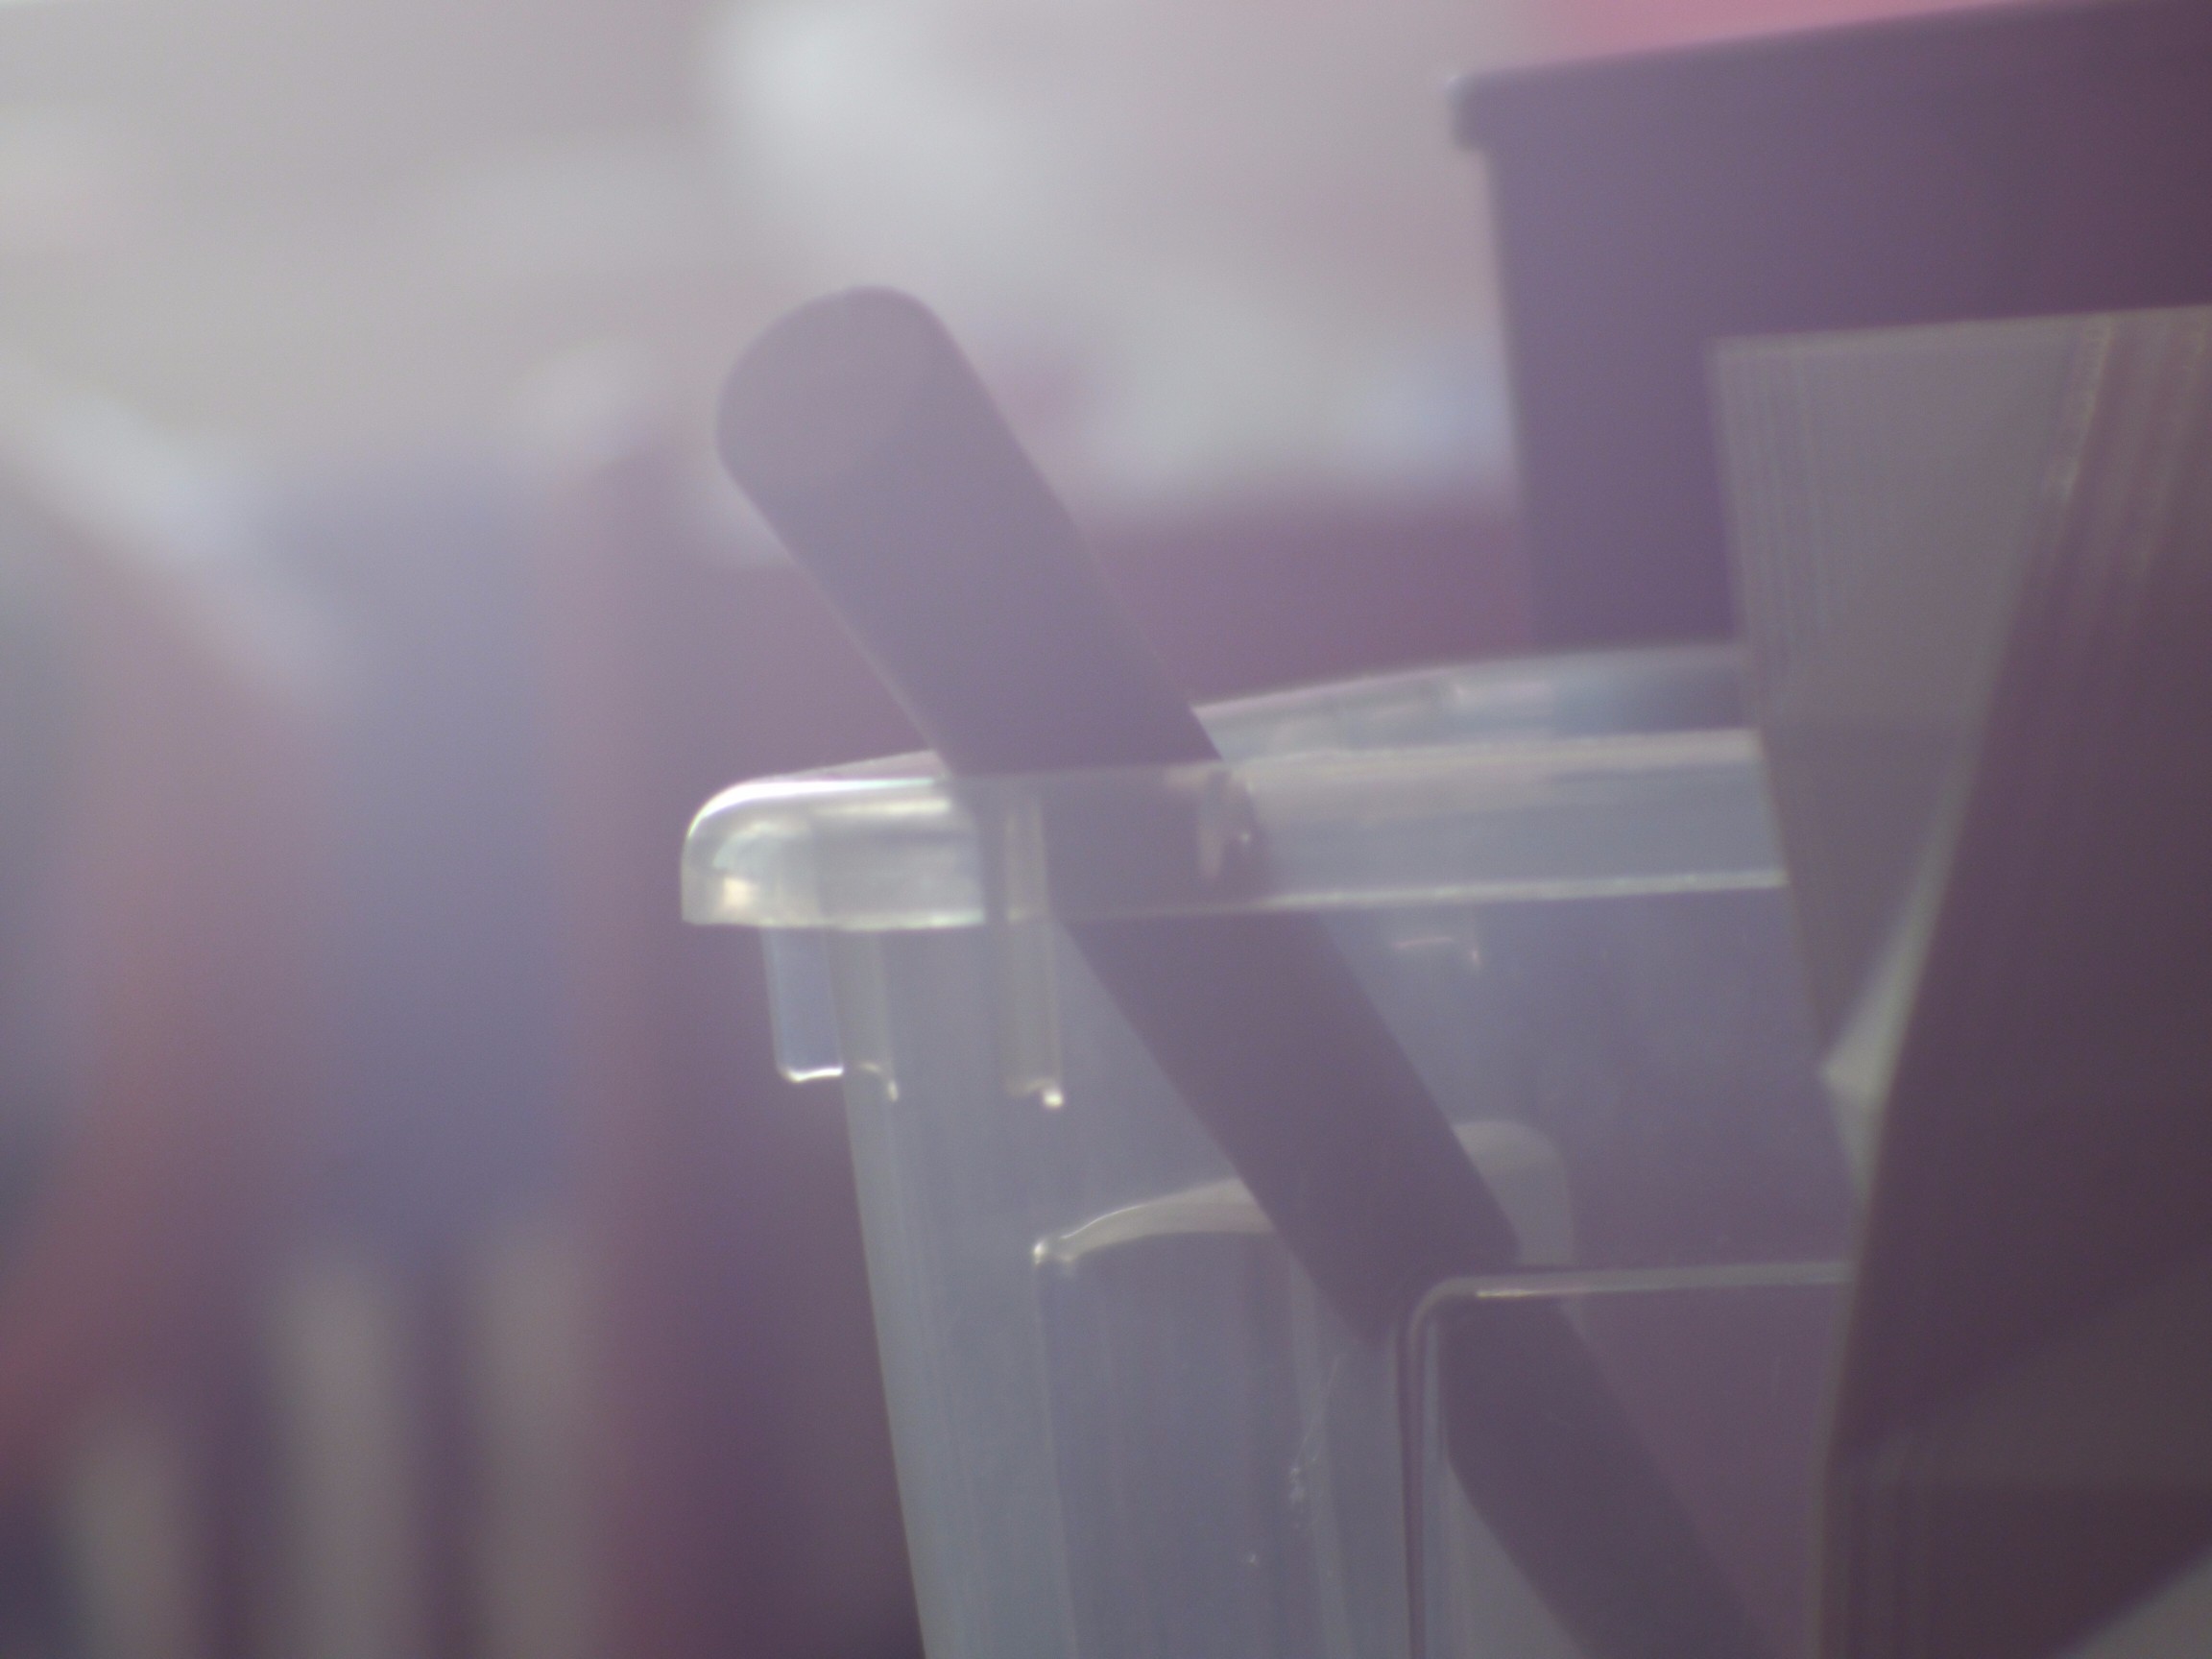 Light leaks everywhere. It’s a very fun
 issue feature.
 This lens is soft even at focus, and may not work well with landscape shots.
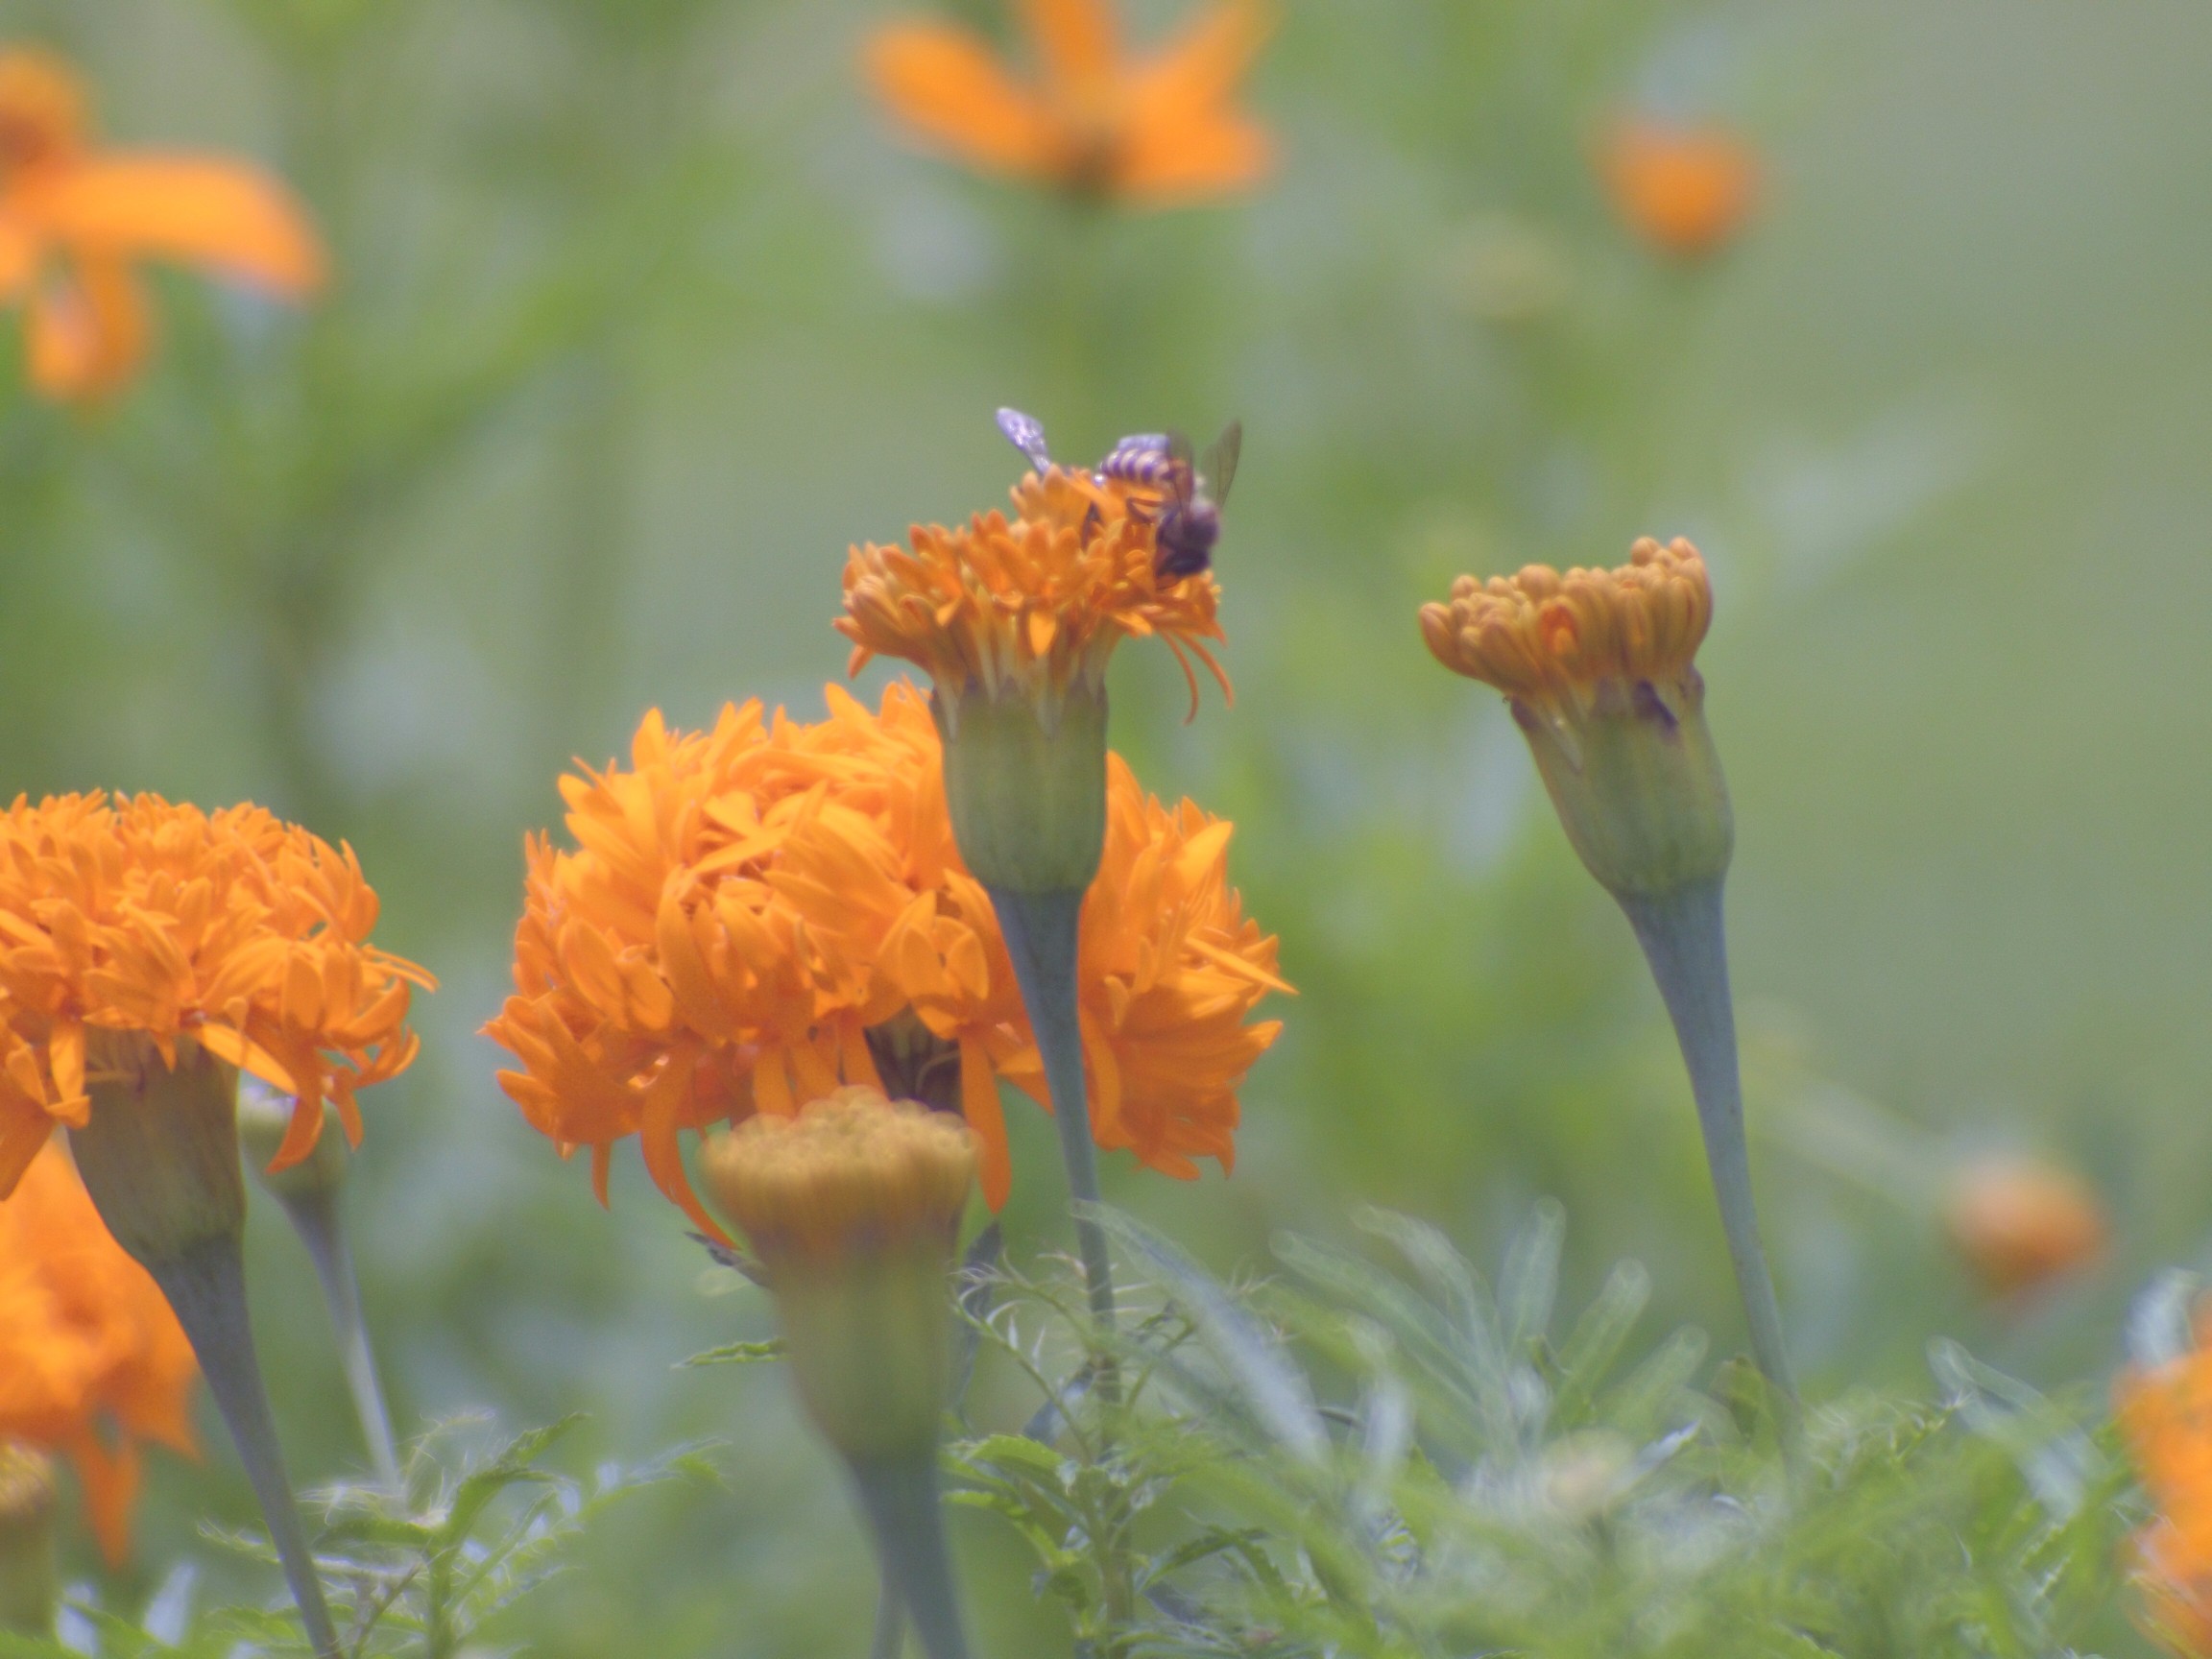 It may be difficult to catch moving subjects due to the focal length of the lens.
Verdict
It’s a lovely camera with some likeness to analog film cameras of the past.
Composition and focusing requires dedication; There is a lot of latency when using the mobile viewfinder, and the slightest movements will affect the shot due to the long focal length. However, the results can be fantastic - most of the shots in this post were barely edited (rotated/scaled only), and the intrinsic flaws of the lens also lends a “filtered” look to the resultant photos.
This project might be a fit if you are on a tight budget and willing to experiment with a digital equivalent of a toy camera. Have fun!