Coupling the Instax 8 with a vintage lens
Wed, Feb 28, 2018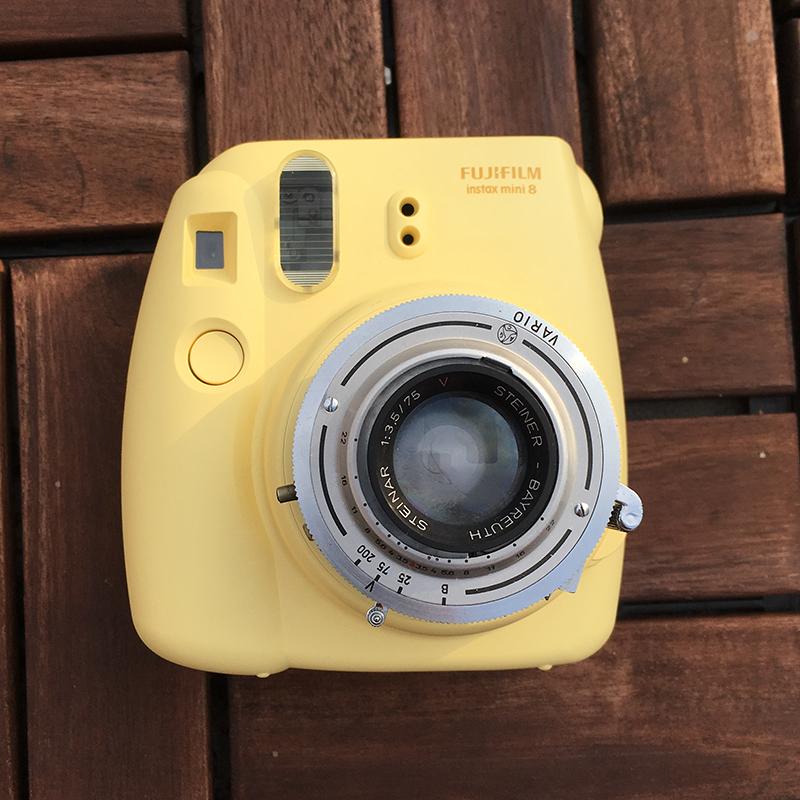
Meet the Instax-Paxina, with a 75mm, f/3.5 lens!
The idea of an “instant film back” for large format cameras has been explored before, but I thought it would be exciting to try the opposite - to mount a medium format lens and shutter onto an Instax instead.
The process would (ideally) involve removing only the optical elements and the shutter from the Instax, while preserving the rest of its functionality, so that the camera is still able to process and develop the exposed film.
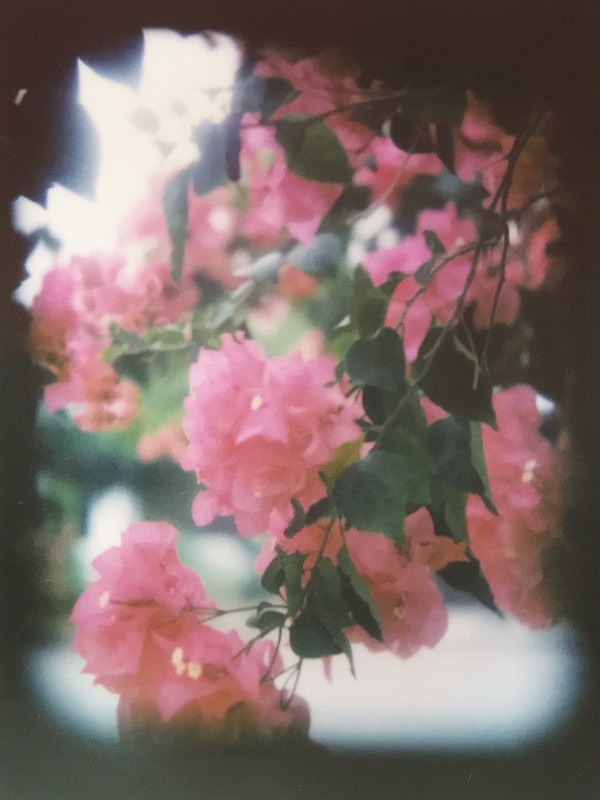
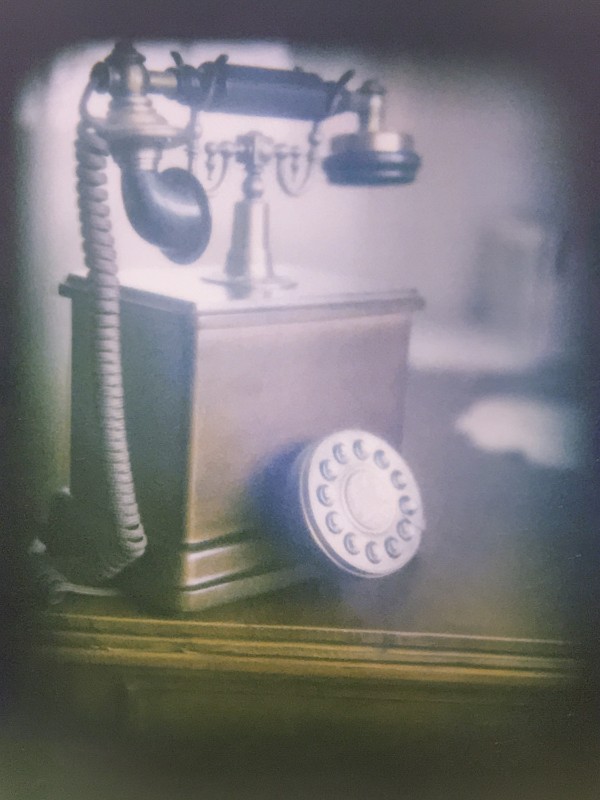
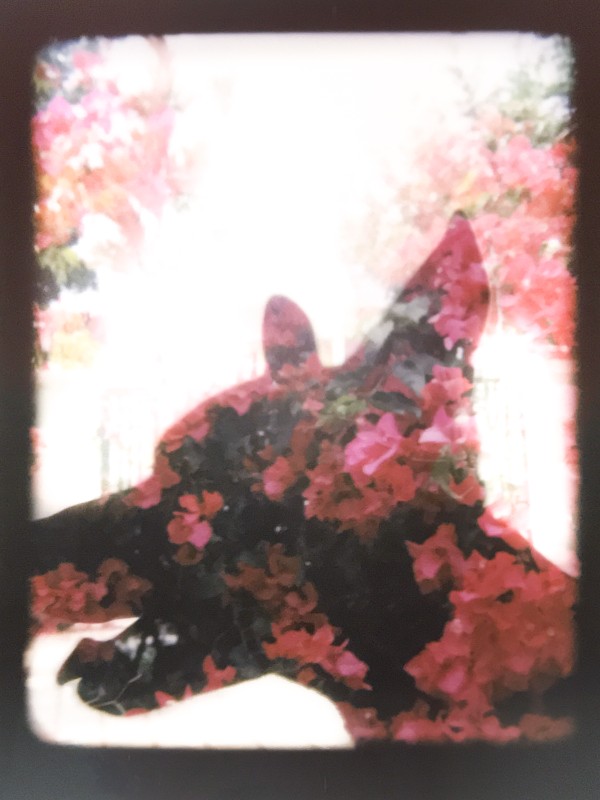
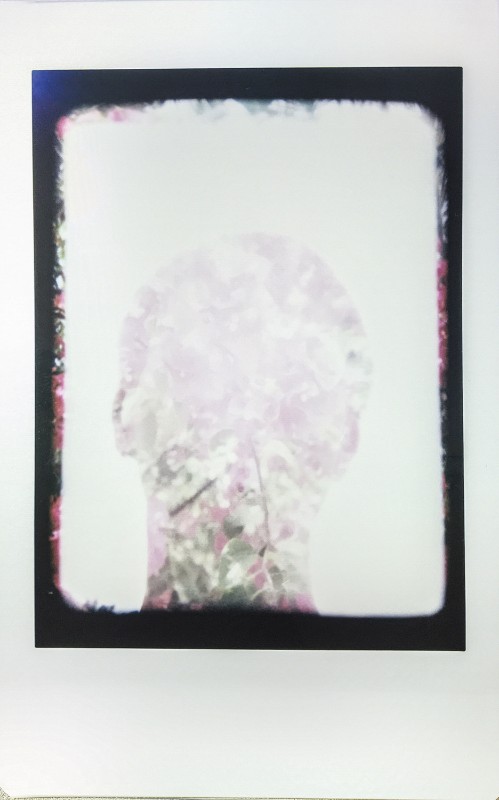
Here’s an idea of what this camera achieves! There is minor vignetting due to the mismatch of the Instax’s baffles and the Paxina lens.


The donor lens: Paxina II

This Paxina II was available for purchase for about US$50. What made it particularly appealing was its lens: at 75mm f/3.5, it would be similar to a 42mm lens at f/2 in 35mm-speak¹.
The last Paxina II was built around 1957, indicating that this lens was at least 60 years old. The lens had severe fungal growth that left permanent scars that even hydrogen peroxide could not remove.
This camera was a great fit for the project for a few reasons:
- It uses a leaf shutter between the optical elements, as opposed to curtains on the film plane.
- The image could cover 120 / medium format film, and as such, should be (barely) sufficient to cover the Instax film.
- The flange focal distance was similar to that of the Instax 8 when fully extended.
“Manual Mode” on the Instax 8
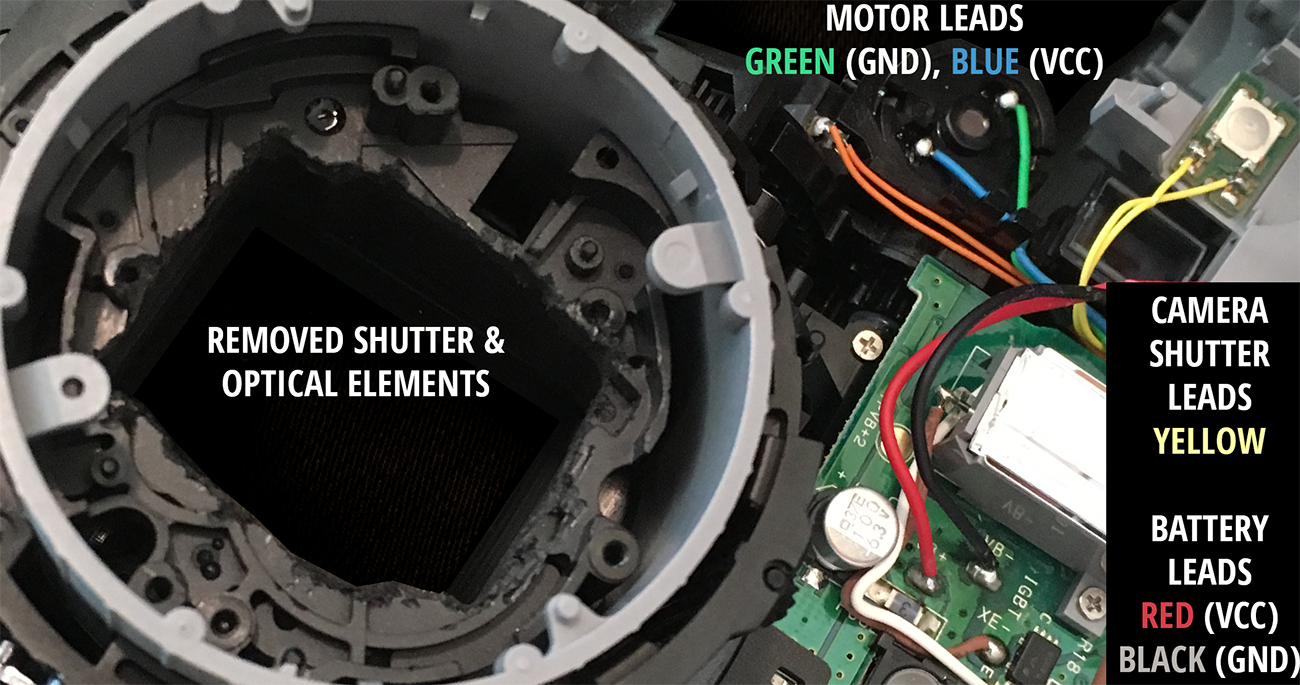
Electronics
Initially, I hoped to keep the Instax’s existing electronics intact, but there were two key issues with this idea:
- The camera has internal switches to determine its state. After the modification, some of the switches are no longer triggered, hence the camera enters a “fault mode” and refuses to work.
- Every shot requires the flash to be charged and released. Apart from the flash possibly ruining the shot, the recycling time takes a while and also drains plenty of power from the 2xAA batteries,
A simple and effective way was to convert the camera into a fully manual device, bypassing all the existing electronics. The motor was directly connected to the battery and shutter button, and film could be developed by holding down the shutter button until the instant film is ejected. A tactile click can be felt after the film is ejected to indicate the end of process.
Confirm that the motor’s polarity is correctly matched. Failing to do so may break things.
Ensure that the capacitor is fully discharged before starting work. I used a screwdriver to short the leads, and the process was louder and more unpleasant than expected.
Optics
The existing shutter and optical elements were disassembled and removed. The original window was also embiggened to match the baffles using elbow grease, pliers and a file.
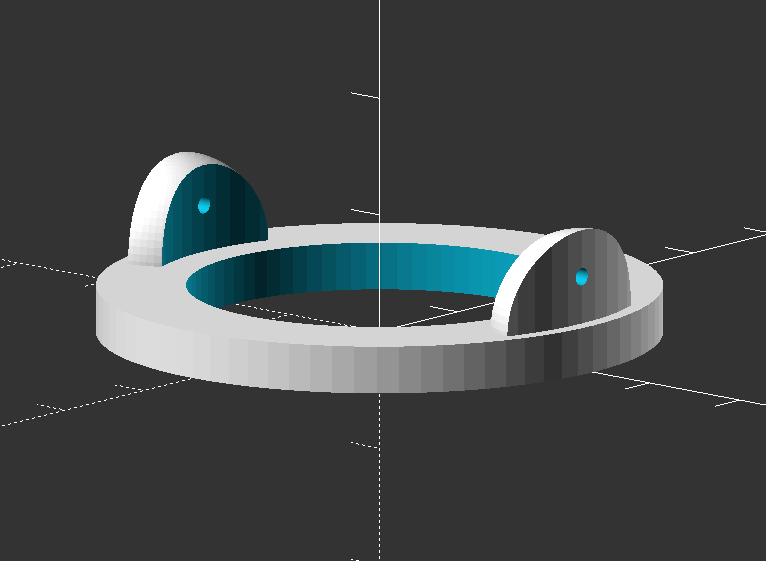
An adapter was printed to connect the Paxina lens onto the Instax. It may be helpful to check if minor adjustments to the flange focal distance are required:
- Focus your lens to infinity (or fully racked in)
- Mount a piece of ground glass or equivalent on the film plane
- With the Instax’s plastic tube extended, hold the donor lens in its desired location
- Point at the sun and move the donor lens perpendicular to the film plane
- Measure the distance from the lens to the plastic tube when the sun is in focus. This spacing should be corrected in the design of the printed adapter.
Verifying the shutter speed
Shutter speed accuracy can be verified with modern smartphones with “slow-mo” features that specify a known framerate. Divide the video framerate with the number of “open shutter frames” to get the shutter speed.
Usage
- Meter the scene - I use “Lux” on iOS, which is clean, functional and completely free. Note that Instax films are all ISO 800.
- Extend the lens and set the shutter speed and aperture based on the earlier results.
- Set the focus. For near subjects in large apertures, this may be quite difficult as there is no feedback on the focal accuracy.
- Wind the lens shutter and take the photo by activating the lens lever.
- Hold down the instax shutter until the film is ejected. I prefer to feel for the confirmation click, although it is not strictly necessary.
- Congrats! ^_^
 hello!
¹ Assumes a crop-factor of about 0.58; Instax mini’s image size is 46 × 62 (or 41 × 62 if scaled to 2:3)